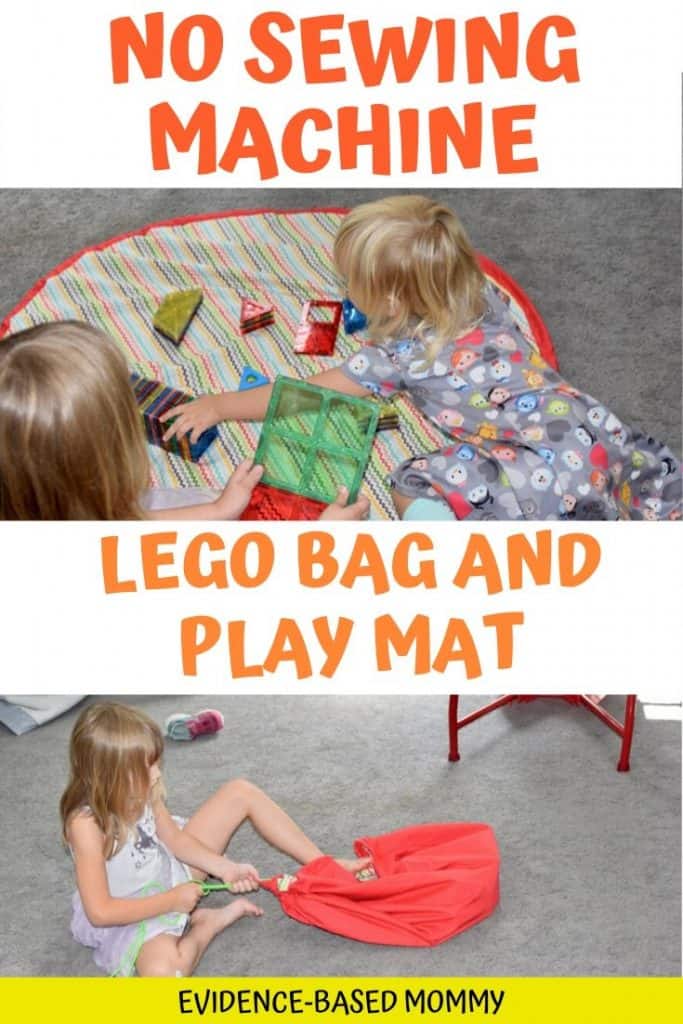
If you have kids who enjoy blocks, you know how it is: Somehow, the blocks end up everywhere, and at some point, you end up stepping on one in the middle of the night and swearing (but quietly. Anything to not wake them up!). That’s why I love the idea of a Lego bag to quickly contain the mess.
I had seen drawstring toy bags that flatten out into play mats before on Etsy, but I thought this was something I could DIY. And I’m happy to say I found a tutorial that I made work for me with a few changes.
Let me add this: I am not a seamstress. I did a few sewing projects with my grandmother when I was a teenager, and I know how to sew up holes and put buttons on, but I’m no expert. So if I can make this Lego mat, you can too!
Clarks Condensed was the inspiration for this Lego bag. The only thing was, she described using a sewing machine, and I don’t have one.
This Lego storage bag is still totally doable without a sewing machine. Sure, it would be a lot quicker with one (Katie reports it taking her about an hour and 40 minutes from start to finish, but for me sans sewing machine it was probably 5ish hours. I got most of it done in one day and finished up the next afternoon).
Disclosure: This article contains affiliate links. As an Amazon associate I earn from qualifying purchases. You can read my full policy here.
Even without a sewing machine, this Lego bag wasn’t a hard project, and it was really satisfying to make something my kids actually use and enjoy. Plus, cleaning up our Magnatiles is so much easier now for the kids.
Fun play and easier chores? Win-win for everyone!
RELATED: Our easy family chore chart (plus why you need one)
So if you’re ready to make your own DIY Lego bag and play mat, check out these instructions. If you have a sewing machine, of course, use it, but this project it totally doable without one.
NOTE: Swoop bags like these are just one of the ways to organize Legos. Here’s a whole post on other ways to organize them if you prefer.
I’m providing a lot of detail and pics for the drawstring bag below, but I’m trying to make this Lego bag tutorial as beginner-friendly as possible. If you prefer more condensed instructions, click here to skip down.
Table of Contents
Step 1: Choose fabric and gather supplies
Of course, you’ll need to choose your fabric for your storage bag first. You’ll have a front and back side of your bag, with a long “tube” holding a cord so you can tie the bag shut.
You don’t need really heavy fabric, but a cotton that’s thick enough to withstand some wear and tear is a good idea. If you don’t have a good fabric shop nearby, Amazon has some really cute, reasonably priced fabric (that I want to buy all of right now just from looking at it).


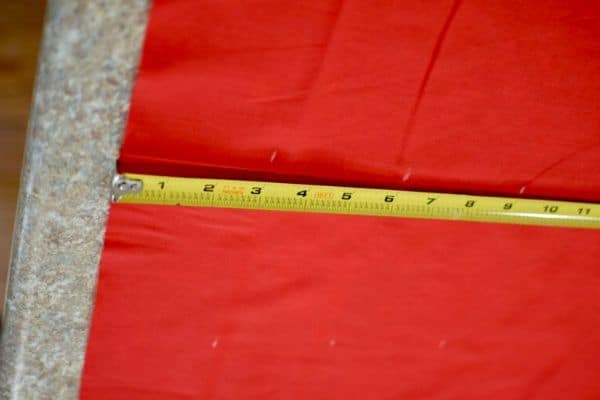
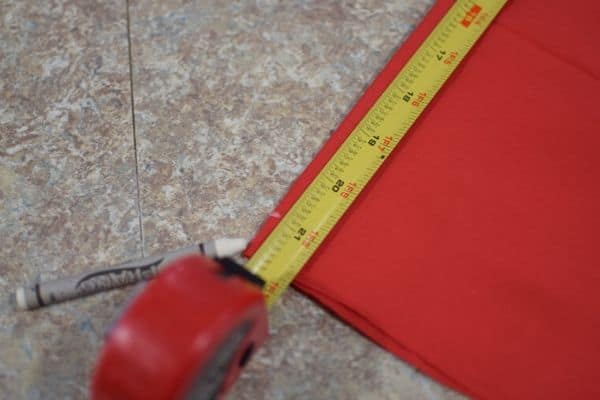
Each circle (the top and bottom pieces) will require fabric that’s at least 44″ (112 cm) long and wide. To make the strips that will ultimately hold the drawstring (which I kept the same color as the outside of my bag), you’ll need 3 strips that are 45″ long and 3″ wide (115cm × 7.5cm).
In addition, you’ll need a few other supplies. I’ve added links to find these in case you don’t have them already.
- Sewing scissors
- A sewing kit
- Spools of thread with the colors you want (the amount of thread that comes in a basic sewing kit won’t be enough if you don’t want to awkwardly switch colors a few times. This set has lengths of thread long enough to work for this project.
- Sewing pins
- A measuring tape (or tape measure in a pinch)
- Parachute cord (don’t try to use ribbon or something more flexible!) that coordinates with your fabric
- A white or black crayon, depending on how dark or light your fabric is

Step 2: Cut out fabric
Technically, this is probably the hardest part of the whole project. Long strips and circles both present challenges for cutting out. But I’ve got tips to make it easier here! Seriously, if you can do this part (which you can), you’re golden.
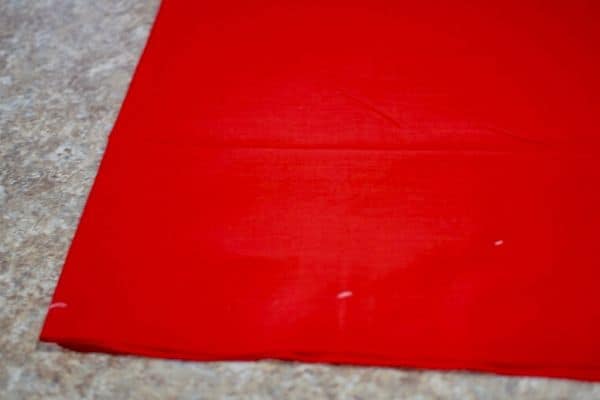
NOTE: Ideally, you should iron each piece of fabric before measuring, marking, and cutting. The ironing makes it easier to get precise measurements, making fabric easier to cut out and then sew. I’ll be honest, I didn’t do iron my fabric for this project, and the world didn’t end. Don’t tell my grandmother.
Also, always flip your cloth so that you see the back side of it when measuring and marking. That way, you don’t see the marks later.
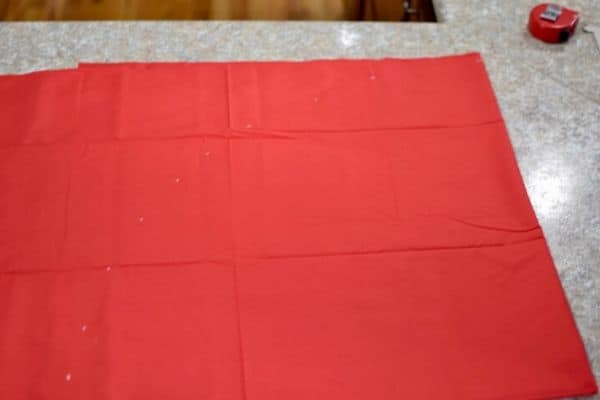
How to measure and cut the cloth strips
Before measuring, make sure the corners of your cloth are right angles. If they’re not, carefully trim so you have nice, square edges. This makes cutting so much easier!
Since I knew I needed three strips, I “stacked” them as I measured. Every few inches across, I marked off three inches, so I could keep a straight line across.
Once they’re marked well, just cut your strips!
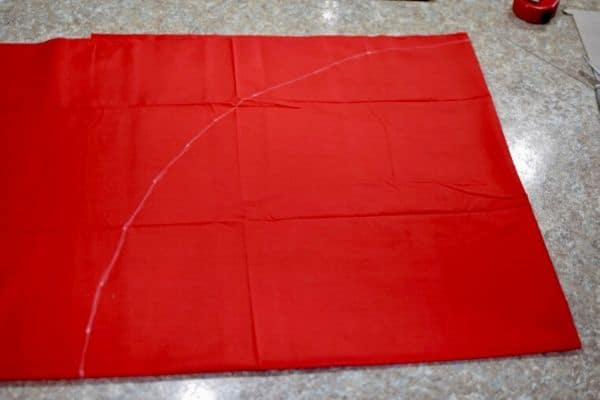
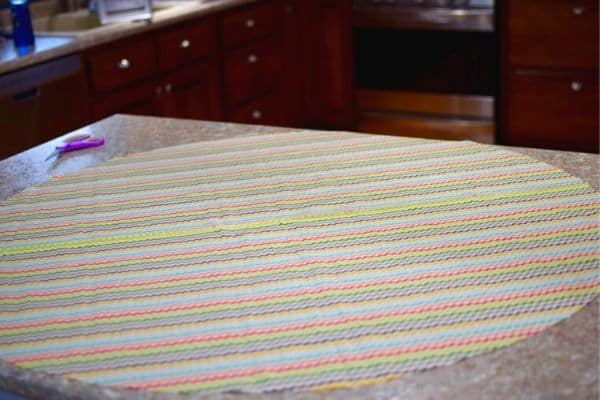
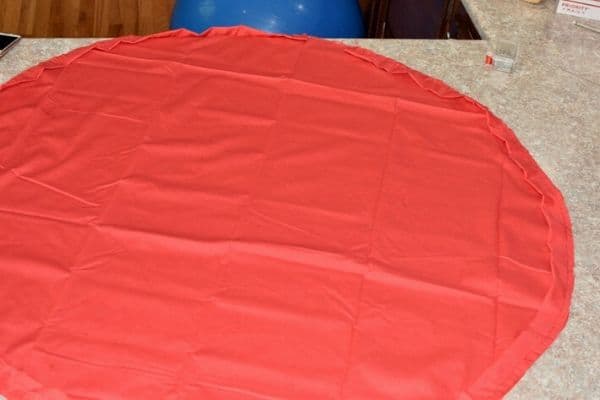
How to cut and measure the fabric circles
Measuring circles is a little harder, but with a little trick it’s actually not bad!
Fold your square of cloth into quarters. Each edge needs to be at least 21″ (53.5 cm) long. Ideally, you’d iron the fabric to make the creases more crisp at this point, but I’m pregnant and the iron is downstairs.
Make sure you’re aware of the innermost corner. That’s the center of your circle. Now, measure 20″ (51 cm) outward from the center corner and mark it. Move your measuring tape in an arc, keeping the beginning at the corner, and mark another 20″ from the center.
Once you’re done, you will have created an arc that shows a quarter of a circle. I chose to “connect the dots” lightly after this to make it easier to see.
Then, keep the fabric folded and carefully cut out the line you drew. Once you’ve unfolded it, you have a pretty good looking circle!
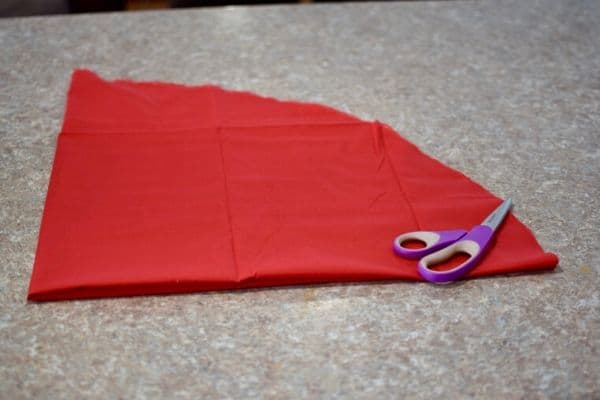
Now you’ll just need to cut out the other fabric circle, marking the same way. To make it easier, you could just keep your original circle folded into quarters and use it as a template on top of your second piece of fabric (first folded into quarters).
In the words of my toddler, “You did it!”
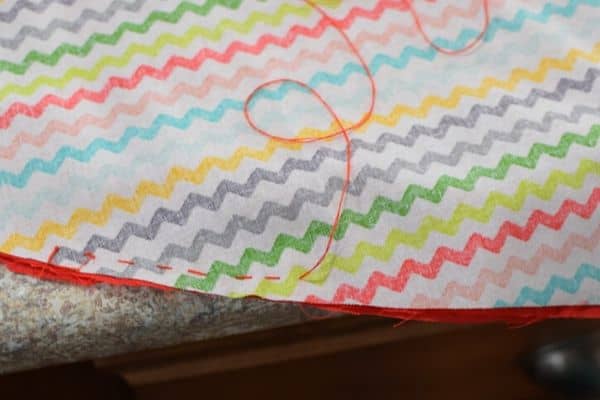
Step 3: Sew long strips into “tubes” for cord
Now that you have your swoop bag pieces cut out, it’s time to start sewing.
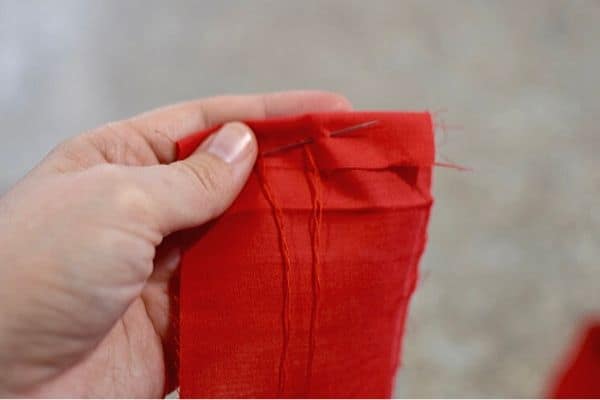
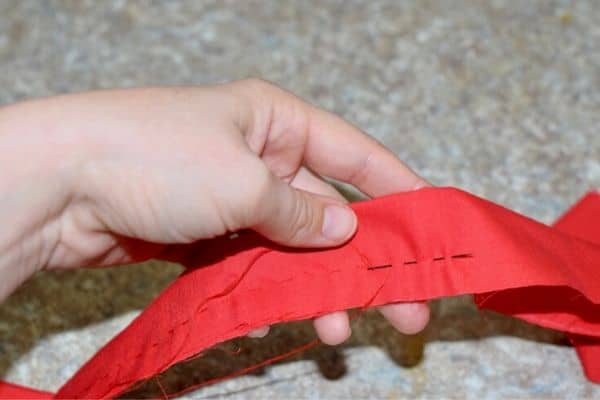
Start with the long strips. Put them end-to-end so you have one really long strip, and sew them together (Make when you connect one strip to the other they’re right-side in so that it’ll look neat at the end).

Next, go to each end of the strip, fold in a little bit, and sew to make the ends look neat.
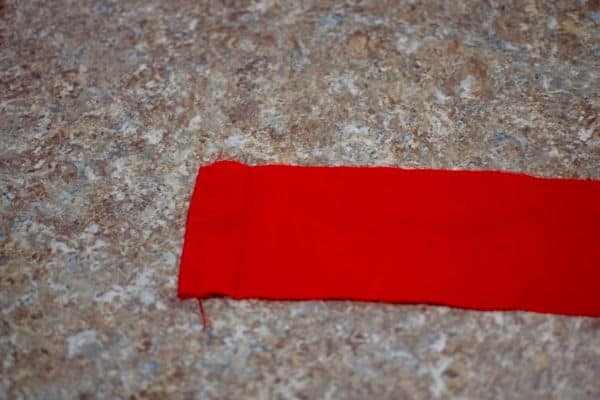
Now that the ends are finished, it’s time to make the strip of fabric into a tube. Fold it in half longway, using sewing pins to hold it together while you work. This is the one time where it’s okay to fold it together wrong-side in. The raw edges won’t show later, promise.
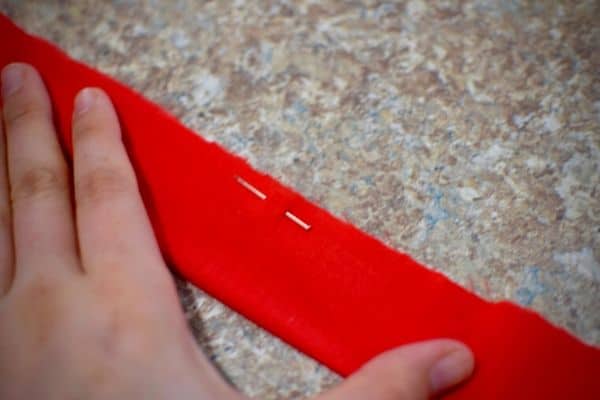
Next, use a simple running stitch maybe 1/2″ from the edge (1.2 cm) to sew the strip into a tube. Don’t forget to remove those pins as you go!
Once this step is complete, you’re ready to attach this piece to your outside circle.
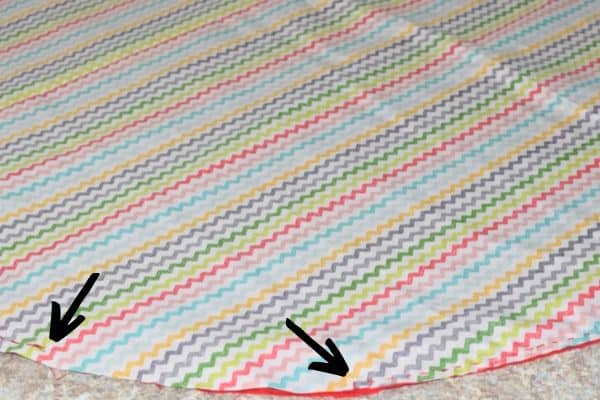
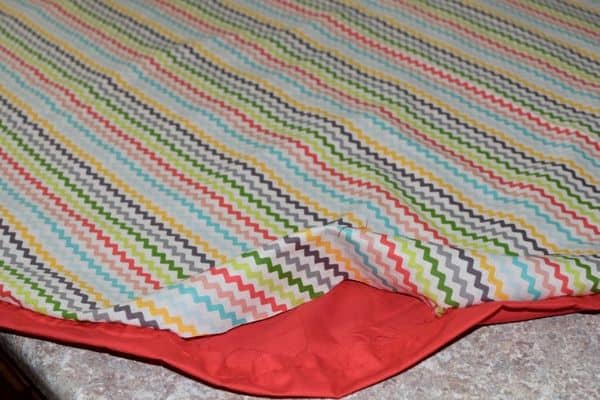
Step 4: Attach tubes to outside of bag
Take a deep breath. It’s time to sew a straight strip of fabric onto the curved edges of your circle. This is the part that allows you to make your swoop bag… swoop.
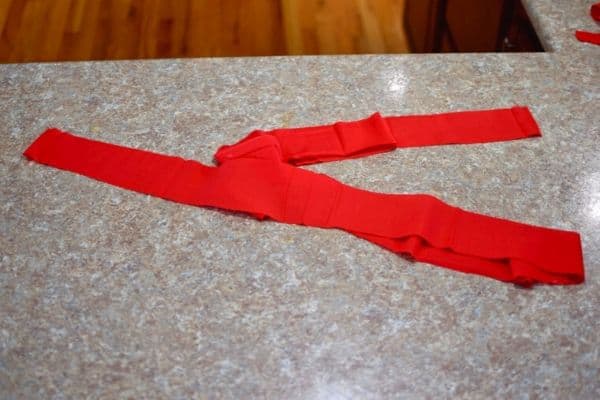
Make sure to use the circle you want on the outside of the Lego bag, and make sure to have it facing right side up. Start pinning the tube to the edge of the circle, raw side facing towards the edge.
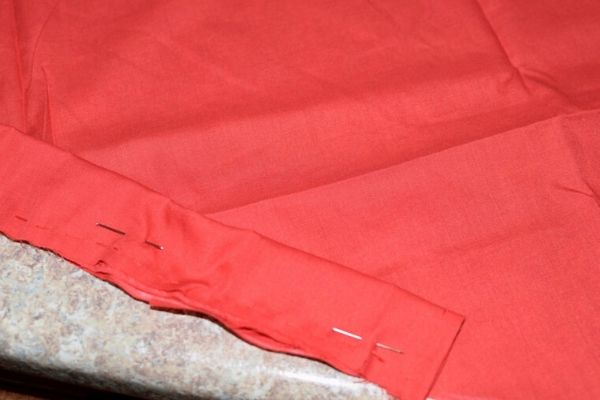
Pin all the way around. There should be a 4-6″ (10-15 cm) gap between either end of the tube when you’re done. If there’s not, just cut some of the long strip off and resew the raw edge (but don’t sew the tube closed accidentally!
After you’ve got the tube pinned on, go back and sew it to the circle, letting your stitch go just a little inside of the original stitch that sewed the strip into a tube.
Now you can work on putting the bag together with the inside.
Step 5: Sew top of bag to bottom
You’re in the home stretch!
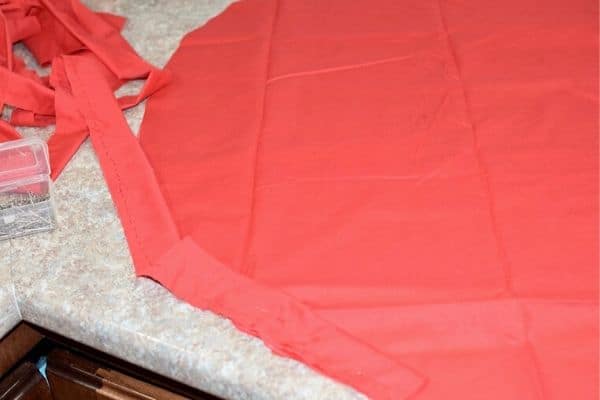
Place the other circle on top of what you just sewed so that the two are right-side together (the tube will be on the inside between the two layers).

Pin the circles together around the edges, but leave a 5-6″ (13-15 cm) gap, not in the same place as the gap in the tube. This gap is so you can turn the bag right-side out at the end.
Use a running stitch to sew the two circles together, but remember to leave that gap at the end.
Next, you’ll carefully flip the bag inside out.
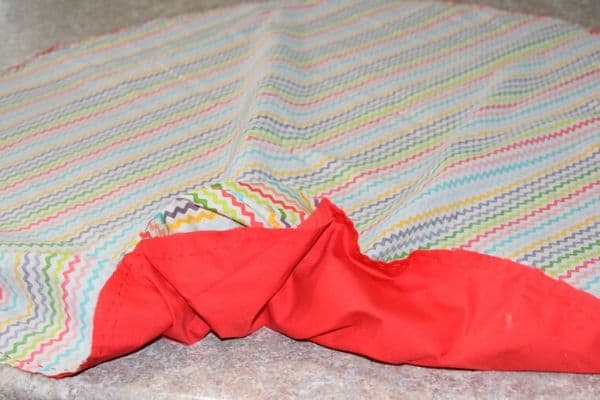
Next, you’ll need to sew this gap closed. While you could use a running stitch, it would be visible afterwards and won’t look very nice.
Instead, you should use a slip stitch. When done correctly, this final stitch will be invisible at the end. I found a great tutorial for the slip stitch here.
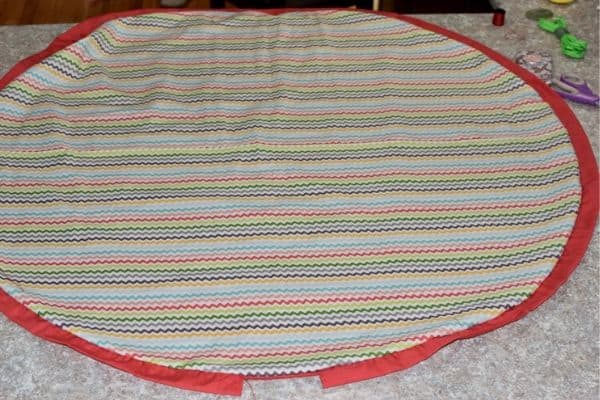
Look at what you made!
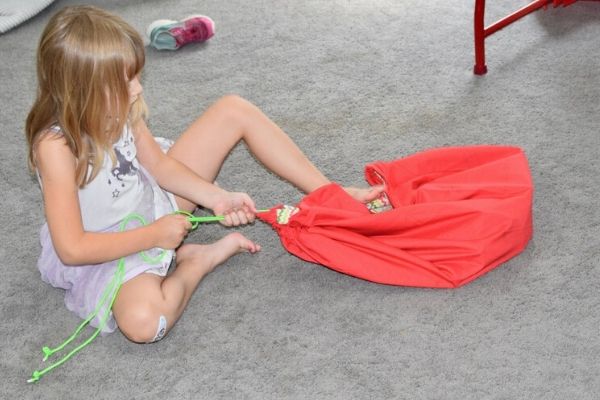
Step 6: Thread cord through bag
It’s finally time to thread your paracord through the tube. While it’s possible to do without it, adding a large safety pin to the end of the cord makes this step much easier.
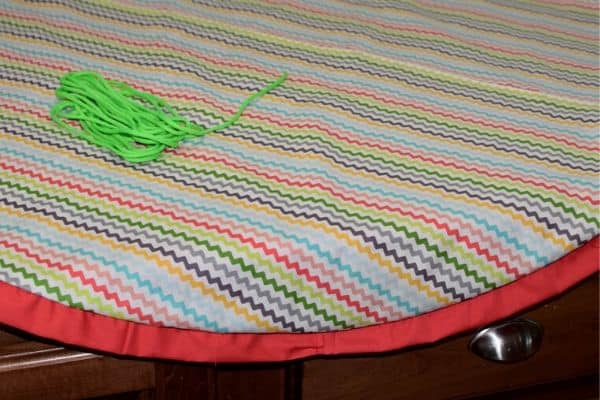
Unfortunately, I have no tips for keeping young children from immediately pulling the cord back out.
Step 7: Get ready to play with your DIY play mat!
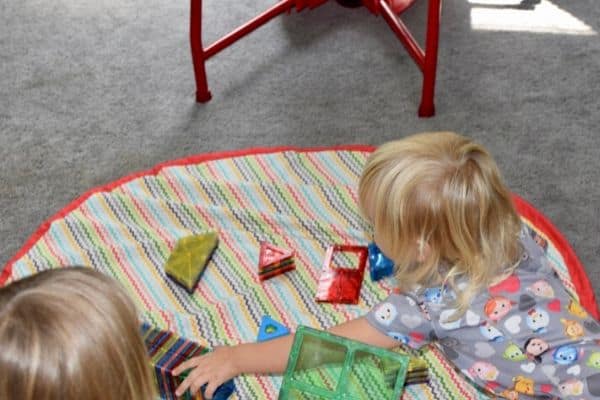
Now you can use your DIY swoop bag for your kids to store blocks or other toys!
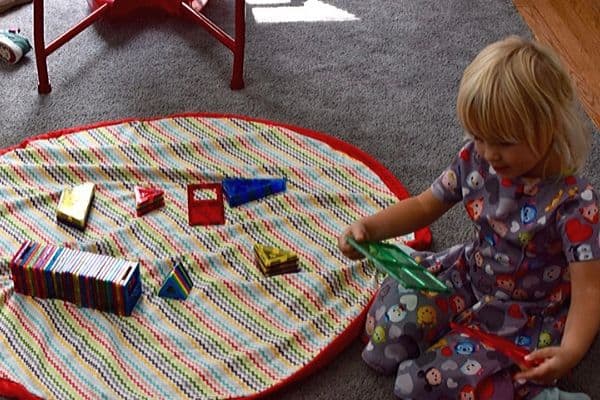
My children really enjoy Magnatiles, so that’s what we chose to put in our “Lego” bag. In fact, the girls were playing with Magnatiles while I was in the middle of this project. You can see how scattered all the pieces are.
Side note: Looking for great toys that allow kids to use their imagination and play independently? Check out my list!
RELATED: Best creative toys for kids

My son was immediately intrigued by the mat, even before we’d really gotten any toys on it.
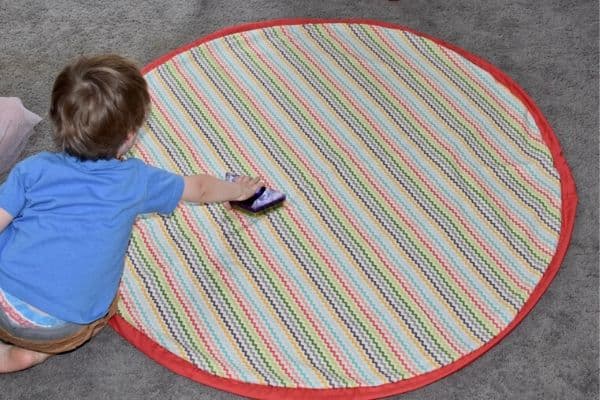
The play mat is a success! I’m proud to say, months after I made this Lego bag, we’re still using it.
In fact, it even makes toy rotation easier, as we can just grab the bag of Magnatiles and take them to storage. And when we’re ready to take them back out, they’re all in one place.
RELATED: 5 steps to starting a toy rotation system your kids will love
I hope you enjoy making this mat as much as I did! If you’re looking for briefer instructions with fewer photos, just look at the tutorial below.
DIY Lego bag and playmat instructions
- Choose two coordinating colors of fabric, each at least 44″ (112 cm) square. Make sure you have several yards of coordinating thread.
- From the fabric you want to be used for the drawstring “tube,” cut three strips, 3″ × 45″ (115 × 7.5 cm).
- Fold the remaining fabric (the outside of your bag) into quarters, creating a square with an edge of at least 21″ (54 cm). From the corner forming the center of the unfolded square, use a tape measure to mark several points 20″ (51 cm) away, creating an arc. Cut out this arc to create a circle (once unfolded). Repeat process with other fabric to make a second circle.
- Lay two long strips together, right-side in, and sew the long ends of one side together. Repeat with third strip to form one very long strip of cloth. Fold the edge of each end down and sew to hide raw fabric.
- Fold the long strip in half lengthwise (right side out) and use pins to hold in place. Sew strip together to make a tube.
- Lay your bag’s outer circle, right side up, on a large surface. Pin your tube (edges facing to edge of circle) around the edge of the circle. There should be a 4-5″ (10-13 cm) gap from one end of the tube to the next. If there’s not, trim the tube accordingly and re-finish the raw edge. Sew the tube to the circle, just barely inside the stitch you made to create the tube.
- Lay your bag’s inner circle on top of the first circle and tube, right-sides facing in (the tube will be to the inside as well. Pin the circles together along the edges, and then sew the two circles in place. Leave a 5-6″ (13-15 cm) gap so you can turn the bag inside out and finish it.
- Turn the bag out and use a slip stitch to finish where you turned it out.
- Thread paracord through the tube on the outside of the bag. You’re ready to play!
This is such a genius idea!!! I wish I would of thought of this. I really hate getting the Legos out for my boys because they dump them all out just to find 2 or three pieces and as we all know they end up everywhere. I am definitely going to make one of these. Thanks for the step by step directions! AWESOME!!!!
You are so welcome! It wasn’t hard to make at all and it has worked so well for us! And I know exactly what you mean about Legos. I still have a baby so we haven’t graduated to Legos yet, just Duplos… I’m dreading Legos lol. Let me know how it goes!
This bag is adorable! Can’t wait to make it.
Awesome. Let me know how it goes!